Building a Real-Time Chat Application can be a great way to dive into Android Development and Firebase. In this article, we will learn to make a basic chat application using Android Studio IDE with Kotlin and real-time chatting using Google’s FirebaseFirestore as a database.
In this article, we will focus solely on the coding part. Therefore, it is assumed that you already know how to use the Firebase console through the website.
Open your Android Studio IDE and create a new project. You can give it any name you prefer.
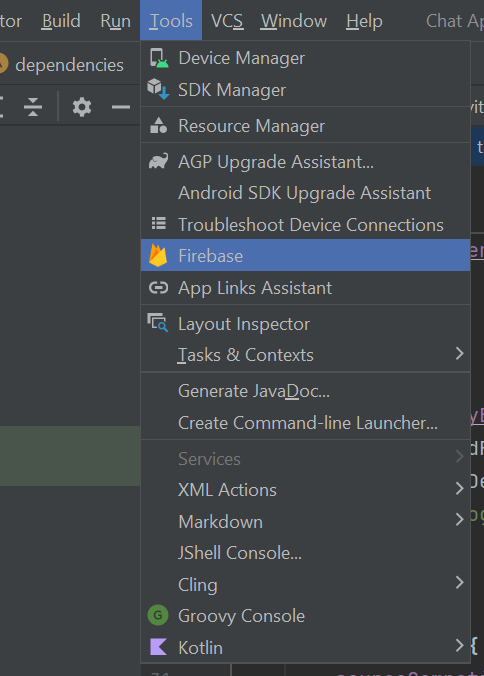
Connecting Firebase to Android Studio is an easy process . Inside the tools menu, select Firebase
Search for Cloud Firestore -> Get Started with Cloud Firestore
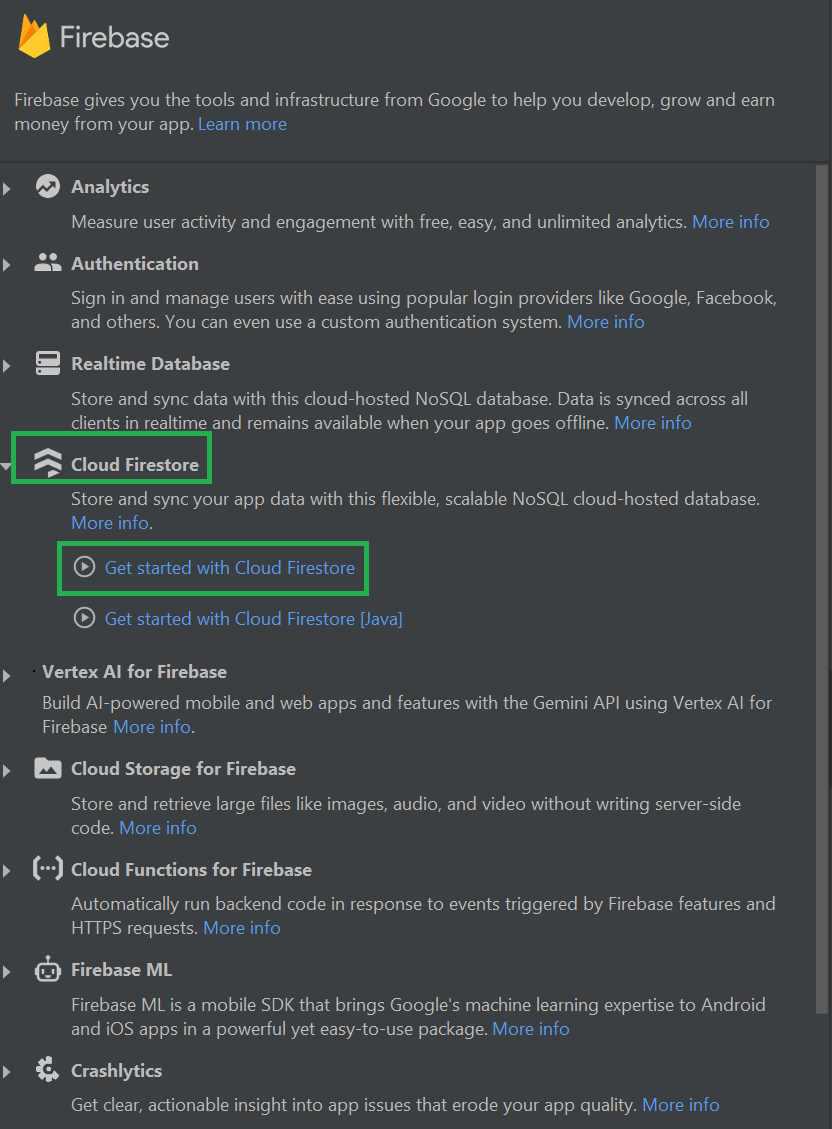
Follow the first Two Steps inside the documentation to connect your application to Cloud Firestore
The first step will redirect you to the Firebase console website, where you will connect your Android studio application with Firebase Console. The second step will add the required dependencies to your application automatically.

After doing this, your application will be connected to Cloud Firestore!
Make sure you activate the FirebaseFirestore inside the console before using it!
This application will have 2 activities. We won’t be authenticating any users, but we will be getting their usernames. User authentication can also be done using Firebase, but in this article, we will only be focusing on the database part.
This layout will be taking usernames as input for further use. So we will need an Edit Text and a Button. We can use additional components like TextView and ImageView to make it look good.
Here is what the Main Activity will look like

In this layout, the actual chat will take place. This activity will make use of RecyclerView to show chats in a list form and an EditText and a Submit button to add a new text.
The RecyclerView will also have its layout file, so create one extra XML file named chat_layout.xml
Here’s how the chat layout looks like

Don’t worry, this is just a preview, the data will be dynamically fetched from the database and will display on the application correctly in the RunTime.
The backend will be made using Kotlin and it will handle all the functionalities of this application:
The first thing our app will be doing is getting the username from the user before displaying the chat interface. That’s why we have made 2 different activities for this. Once the user inputs the username and clicks on the Submit button, the chat Interface will open with the help of Intent, and the username will be passed on to the chat activity.
Here how it is implemented:
ChatActivity has a RecyclerView element. The Recycler view element must have an Adapter Class and a Data Model Class. Let’s implement the Data Model and Adapter Classes first.
The data Model class will contain variables that will represent each chat message inside the RecyclerView. It is a simple class declaration with getters and setters.
The RecyclerView Adapter class. It is responsible for setting the layout of recyclerView and filling it with the content provided.
Let’s proceed to the main Kotlin file for the ChatActivity. Functionalities of ChatActivity:
Let’s see how to do it.
With this the chat application is complete! You can chat with anyone in realtime.
Here’s what it will look like.
Note : To access the full android application of Chatting Android check this repository: Chatting Android Application